
Using painter’s tape for your project will help ensure a professional-quality paint job. Continue reading for our top advice and tips on exploring the available choices.
To achieve a professional-quality paint job, you must pay attention to both the places you don’t want to paint and the ones you do. This is where it comes in handy.
Consider the following factors when selecting an appropriate painter’s tape for your project.
What is the Purpose of Painter’s Tape?
To put it simply, the word refers to any tape often used by painters to maintain straight lines and clean edges. Yes, it is identical to masking tape, but the masking tape used in most art projects has less stickiness than other painter’s tape.
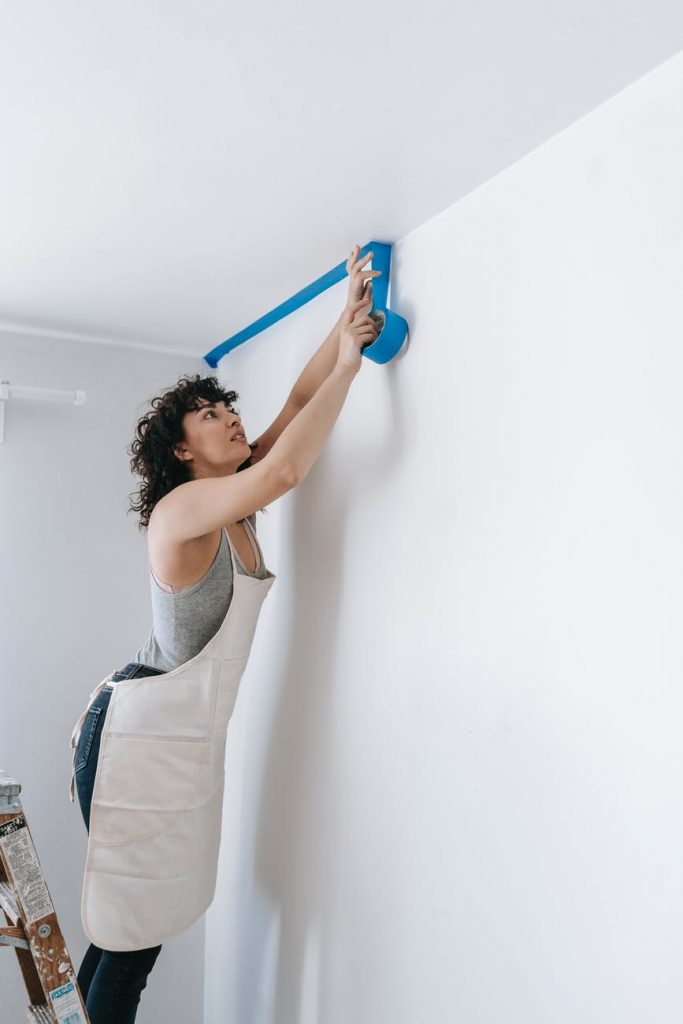
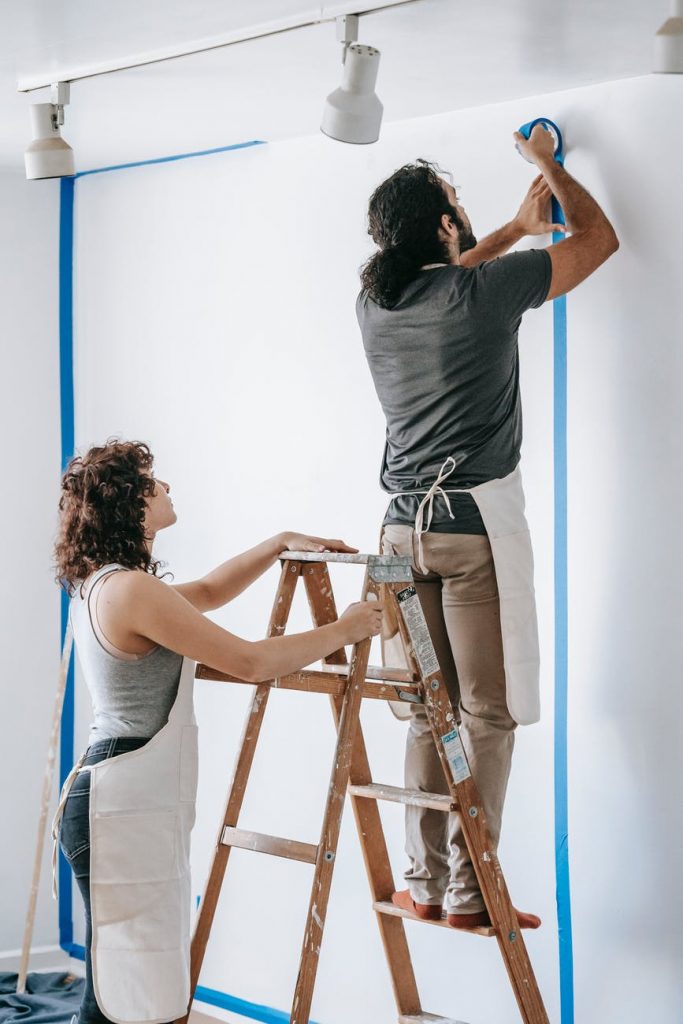
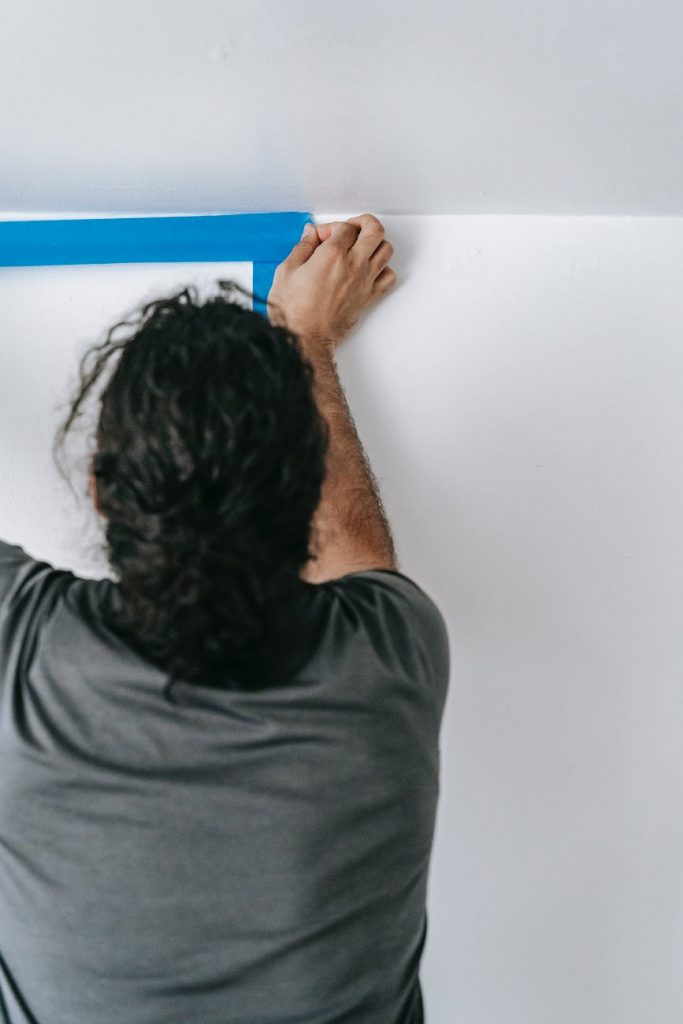
Painter’s tape is a specialized type of masking tape that is intended to be quickly extracted. It is commonly used when two textures connect, such as where a wall meets the molding. When utilized properly, it stops color from bleeding through into places that were not intended to be painted. Additionally, after pulling off, it leaves a clean, smooth, and aesthetically appealing border edge across the painted section.
In other words, it enables you to work confidently, resulting in fewer painting errors and allowing you to work far more quickly than would be feasible otherwise. However, not all painter’s tapes are made equal. There are many varieties of it according to Tape Jungle, and you can visit there to get information about quality products.
Consider the Following While Choosing the Correct Painter’s Tape
Duration of the Task
The length required to finish and to cure your project can influence the sort of painter’s tape you use. Determine how long the adhesive backing can remain fresh and quickly peel off without scratching the base or splitting into pieces by inspecting the packaging. Water-resistant and outdoor tapes should be cleaned within seven days to avoid surface harm. A medium-adhesive, multifunctional tape can quickly peel away after 14 days, except when exposed to intense sunlight.
Low-adhesive will last up to 60 days on fragile surfaces and detail work, based on the brand and the amount of humidity, heat, and sun exposure. The information on the label can provide you with durability forecasts and any environmental factors that can affect its effectiveness.
Adhesion Strength
It comes with a variety of stickiness levels that can be easily kept in position over varying lengths of time. The recommendations below will assist you in selecting the proper adhesion pressure.
Additionally, it is available in a variety of stickiness levels. You’ll have to use a super-sticky version on particularly grainy surfaces, such as stone or brick, and a less-sticky version on something fragile.
Low Adhesive
Low adhesion tapes are recommended for fragile surfaces, such as faux designs, wallpaper, and artistic or textured paint jobs. They will last between 1-2 months, based on the brand.
A Medium Adhesive
A medium-adhesive, multifunctional tape is suitable for the majority of typical indoor surfaces, including drywall and plaster. Additionally, it is a decent choice for easily damaged surfaces, such as polished and unpolished wood, glass, metal, and stone. They usually last up to two weeks.
A Heavy-duty Adhesive
A heavy-duty adhesive is ideal for outdoor jobs and also for retaining huge drop cloths and covering stick-resistant surfaces such as concrete, tile, lacquer, and stucco paints. Within seven days, the weather-resistant tape must be replaced.
Cover plywood or laminate floors (unfinished or covered in lacquer or polyurethane) in your space with it and rosin paper made specifically for these products.
Width
When painting walls, the best widths for masking off glass, trim, and molding are between 1.41 and 1.88 inches. A marginally narrower width of 0.94 inches is used for corner areas, including depth work since it blends more conveniently into small spaces.
When used in combination with a smaller brush for detail work, a thinner one is often more efficient since it covers fewer surface spaces, making stripes and other geometric patterns easier to design. Taping floors and walls with extra-wide (two or three inches) is a good idea. A larger one can capture further accidental splatters and shield walls and ceilings from roller or brush impact.
Color
It comes in a number of colors, but the hues are mostly arbitrary. They do not correspond to the tape’s properties. The only exception is blue painter’s tape, which is common for indoor and outdoor applications due to its UV resistance, which is critical if your paint job is subjected to direct sunlight. UV rays may cause certain adhesives to melt, rendering them more difficult to extract. If you follow the guidelines for usage, this will not happen for blue painter’s tape.
How to Remove It
The most critical aspect of removing it is understanding when to do it. It’s safest to wait until the paint is fully dry; this avoids late-game drips from still-wet surfaces, as well as the risk of smudging exposed areas with wet paint sticking to the tape. To ensure a smooth peel, particularly if you have dense paint surrounding its edge, use a sharp object like a knife to gently score its edge.
Bonus Tip
Apart from the most straightforward use of maintaining neatly finished walls, painter’s tape may often be used for more artistic purposes: Build a template with it for a lovely painted tile, a visual mural, or some other linear style in your house.
Conclusion
Finally, regardless of the quantity or complexity of the painting task, taking the time to tape correctly will ensure that you create a decent paint job!


 – 2023 Guide")
")


